
So today I decided to be productive, get the fabric box out and make a cushion cover. Now recently I become very obsessed and very interested in home interior and am constantly on the look out for something nice for my own room/house but being a student this is pricey and thought why not just make my own. So here we go, 7 basic steps to making my very easy cushion cover.


1. Making the templates, I made mine just by sticking a couple pieces of paper together with tape, to make a 17inch by 17inch square piece of paper, this is so I have an inch all the way round to give room for sewing. (The cushion size is 16' x 16')

2. This is simple, pinning together the templates to the fabric and cutting around them to get rid of any excess fabric.

3. Pinning a fold for the overlap at the back of the cushion. (This is where you will put the cushion inside, this is optional).

4. Pinning the two panels together leaving an inch from the end.
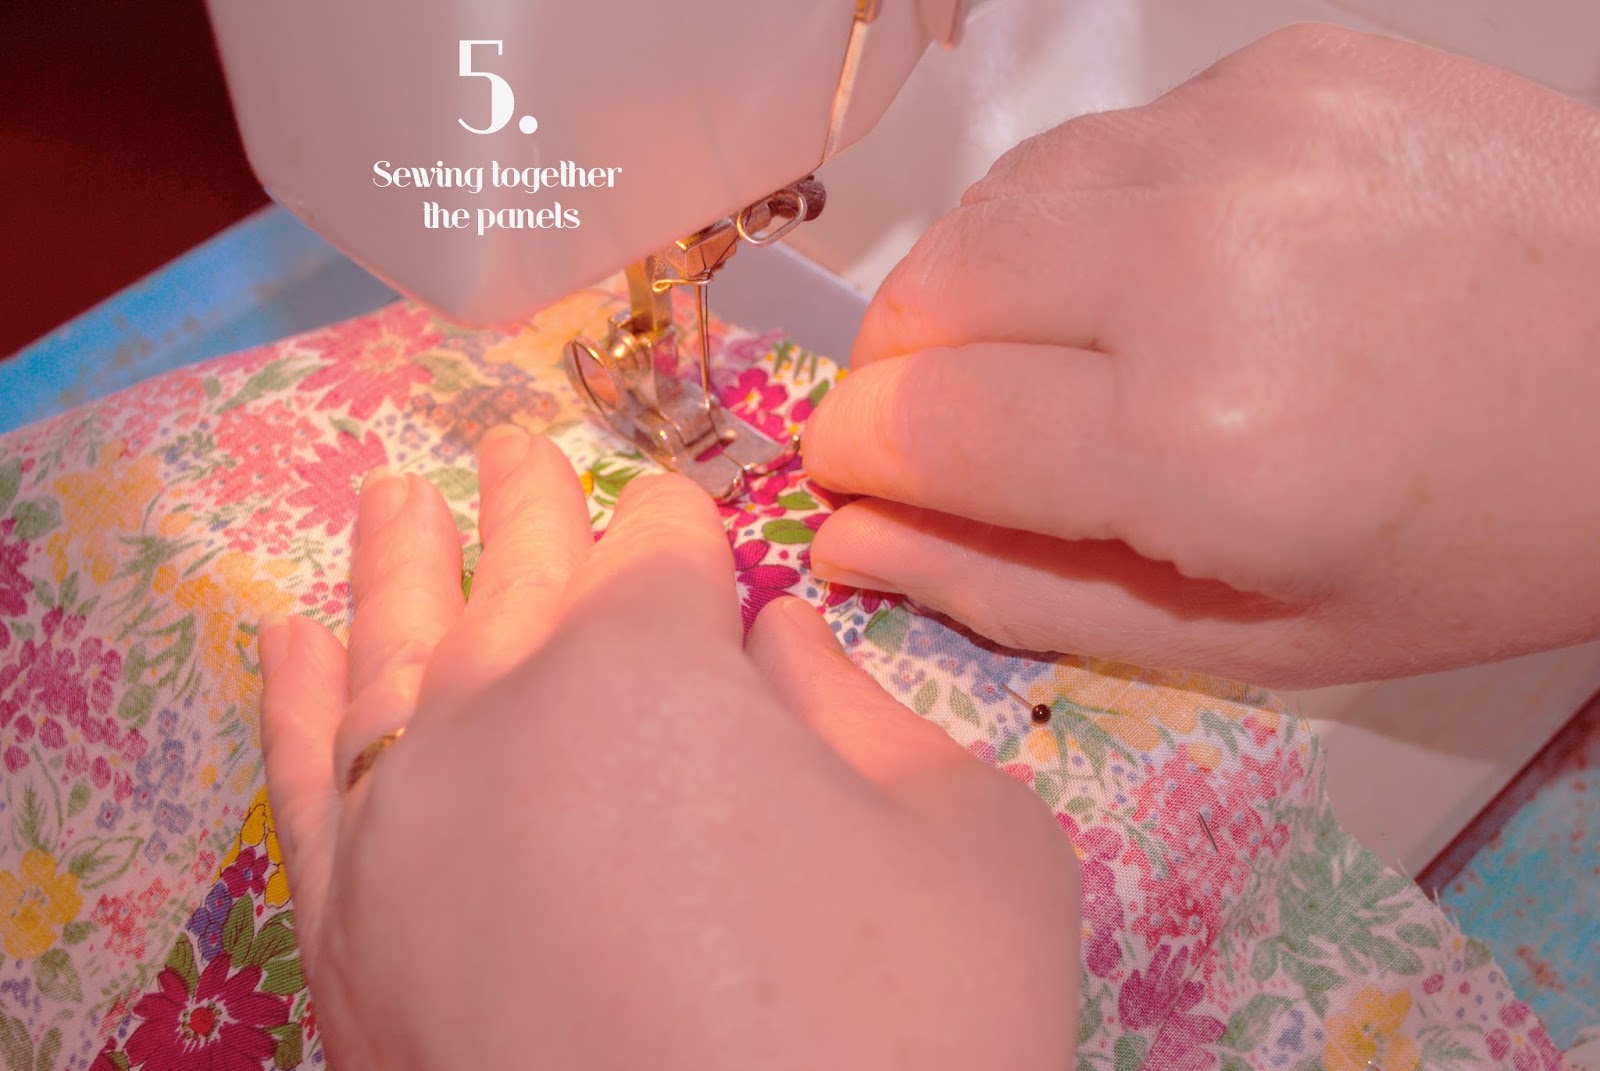
5. Using the sewing machine and which ever colour thread you see fit, sew together the panels.

6. On the overlaps sew 1/2 popper onto the fabric, this is also optional. This is just to keep the cushion inside the cover.

7. Again this is optional, I just added a nice yellow button to the back of the cushion for decoration. Then all you have left to do is place your cushion inside the cover and your done.
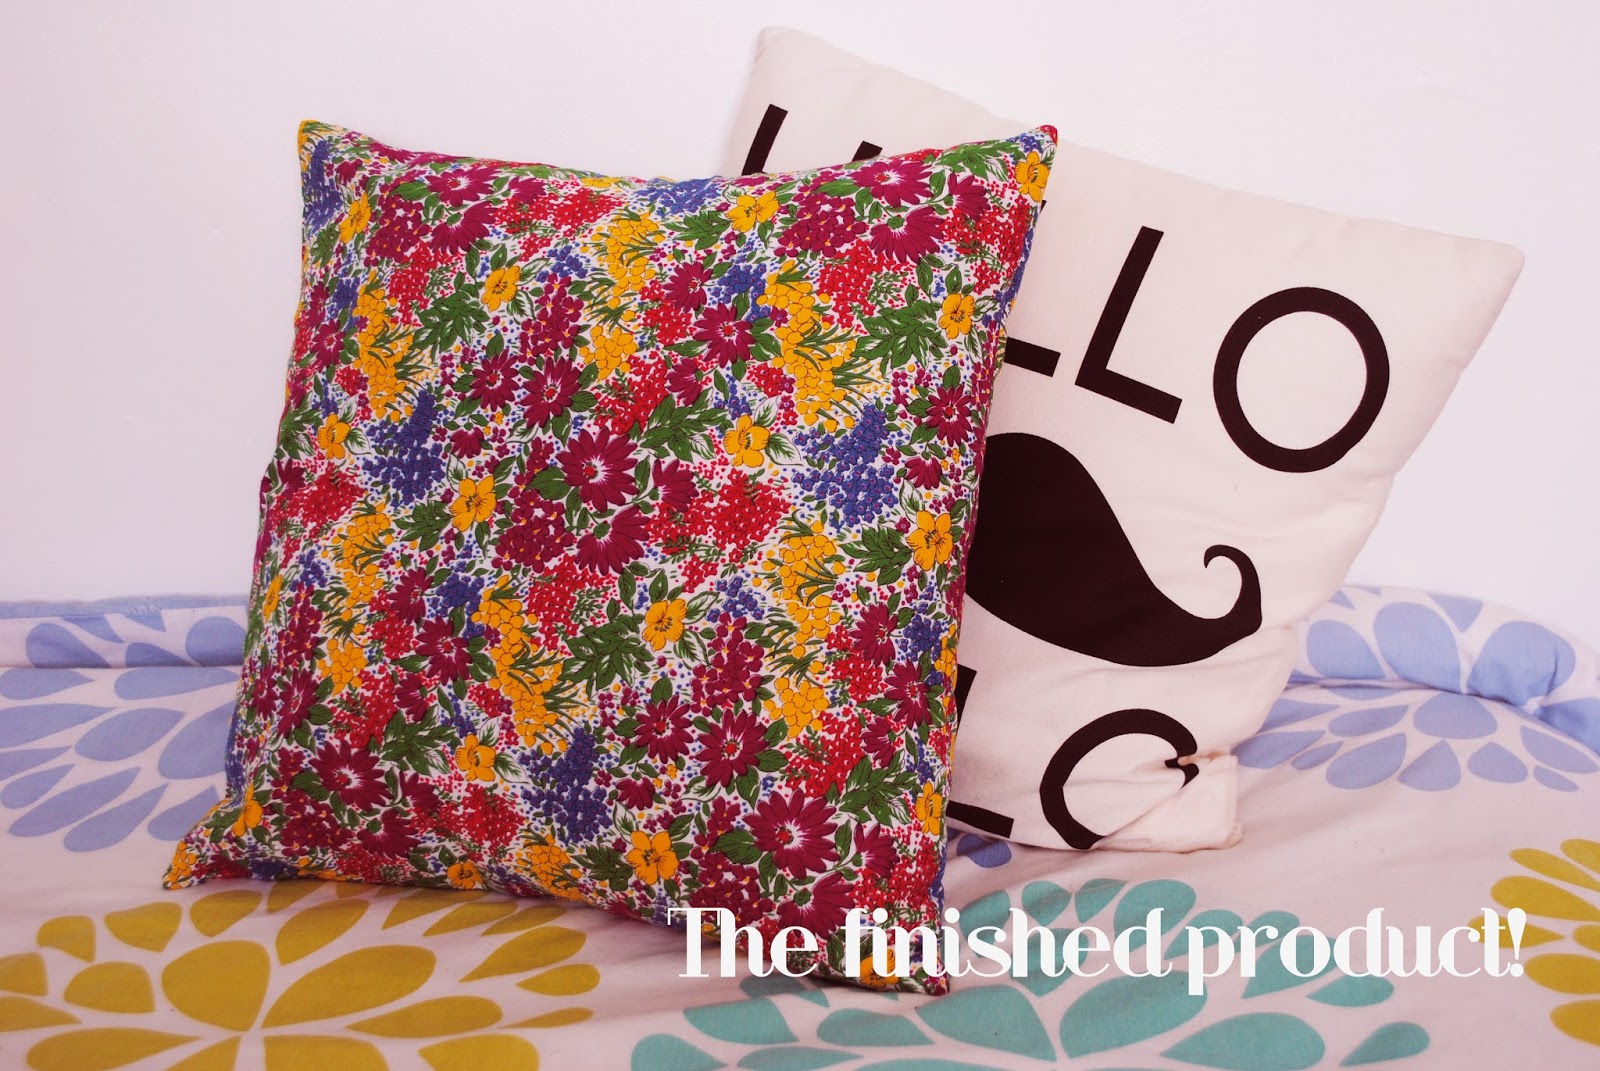
I'm planning to get some more material soon and make a few other designs and hopefully try and sell a few. I think something like this would make quite a cute gift or even just something nice to brighten a room. Nice, cheap and easy. Done!
No comments:
Post a Comment